How to install Cockpit and QEMU on Ubuntu Server 22.04
Установка выполнялась на базе руководства How to install Cockpit and QEMU on Ubuntu Server 22.04
Протестировано на ноутбуке Digma
kandybka@digma-nb:~$ cat /etc/issue
Ubuntu 24.04.2 LTS \n \l
Руководство взято копи-пастой из страницы по ссылке в начале, на случай если ссылка пропадет на сайте ориигинала
Руководство, доступно по ссылке
Cockpit is a fantastic all in one solution to control your server and virtual machines, A great way to remotely have full control of your server via a clean web interface. In my opinion it’s a great solution for anyone looking to have a NAS using out of service PCs or even on a Raspberry Pi. In a future tutorial I’ll detail how to use Cockpit in conjunction with CasaOS to have the perfect VM and Docker control suite. Now when it comes to type 1 hypervisors, the only real solutions are Proxmox or ESXi for enterprise solutions which really only leaves Proxmox as an option for home servers. While Proxmox is an awesome operating system and VM solution, It’s a bit overkill for most home server users. Utilizing the easy to use Ubuntu Server with Cockpit and QEMU you can have a similar experience you’d get with a type 1 hypervisor.
A couple prerequisites, This tutorial will be under the assumption you have a user account with sudo privileges. I highly recommend you DO NOT host this under a root account. When opening ports on your firewall beware that you are opening your network to potential attacks, I would recommend that you do not have cockpit publicly available and instead use a zero-trust VPN type service to access it outside of your network. I’d recommend using Tailscale. This is also under the assumption that you have either physical or SSH access to the server.
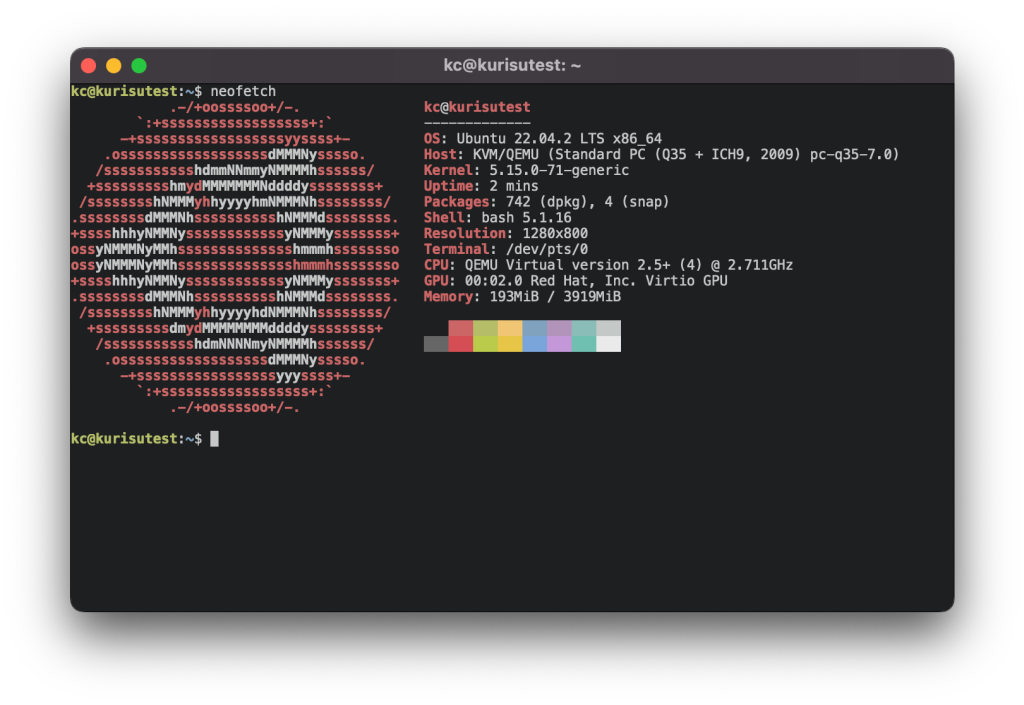
First let’s start with making sure our OS and repositories are fully up to date. Issue this command into your terminal.
sudo apt update -y && sudo apt upgrade -yOnce your environment is fully up to date, let’s start installing cockpit.
sudo apt install cockpit -yNext let’s ensure that cockpit is enabled as a service so it will automatically boot with our system.
sudo systemctl enable --now cockpit.socketCheck to see that cockpit installed correctly and the service is running using the systemctl status command like this.
sudo systemctl status cockpit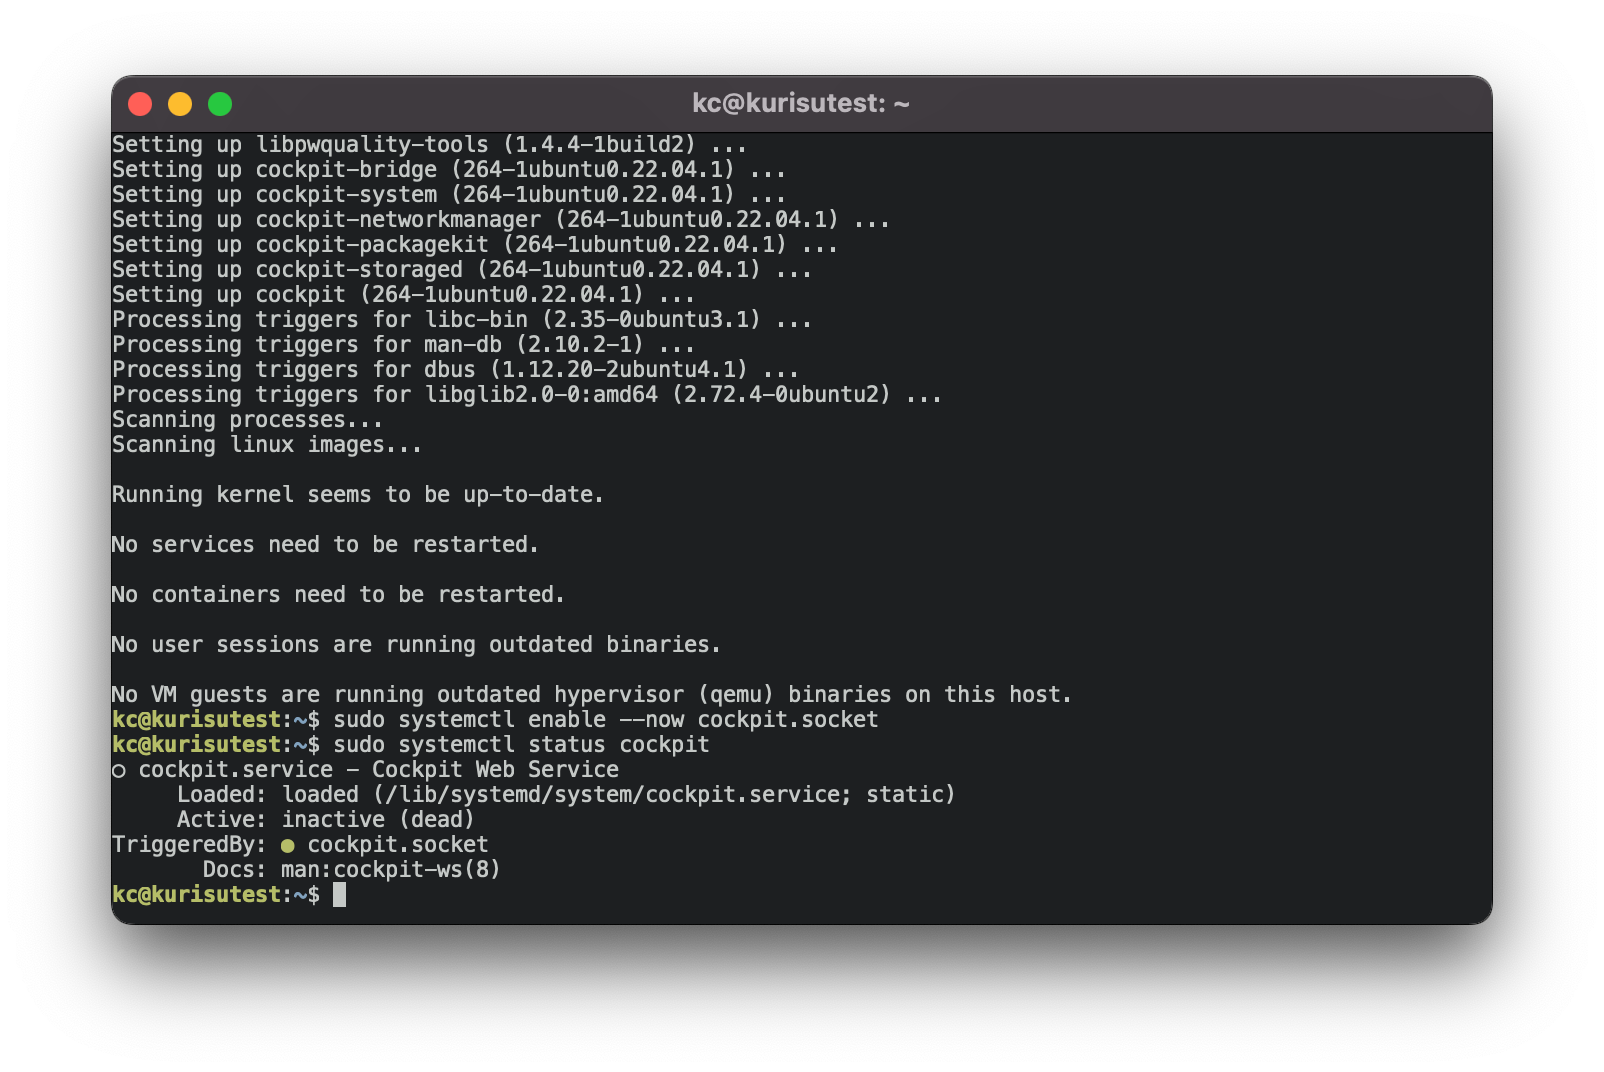
Next let’s install the QEMU portion of cockpit, Since cockpit doesn’t come with it installed by default.
sudo apt install cockpit-machines -yJust in case if you are using UFW, you’ll need to make sure port 9090 is allowed, simply issue this command.
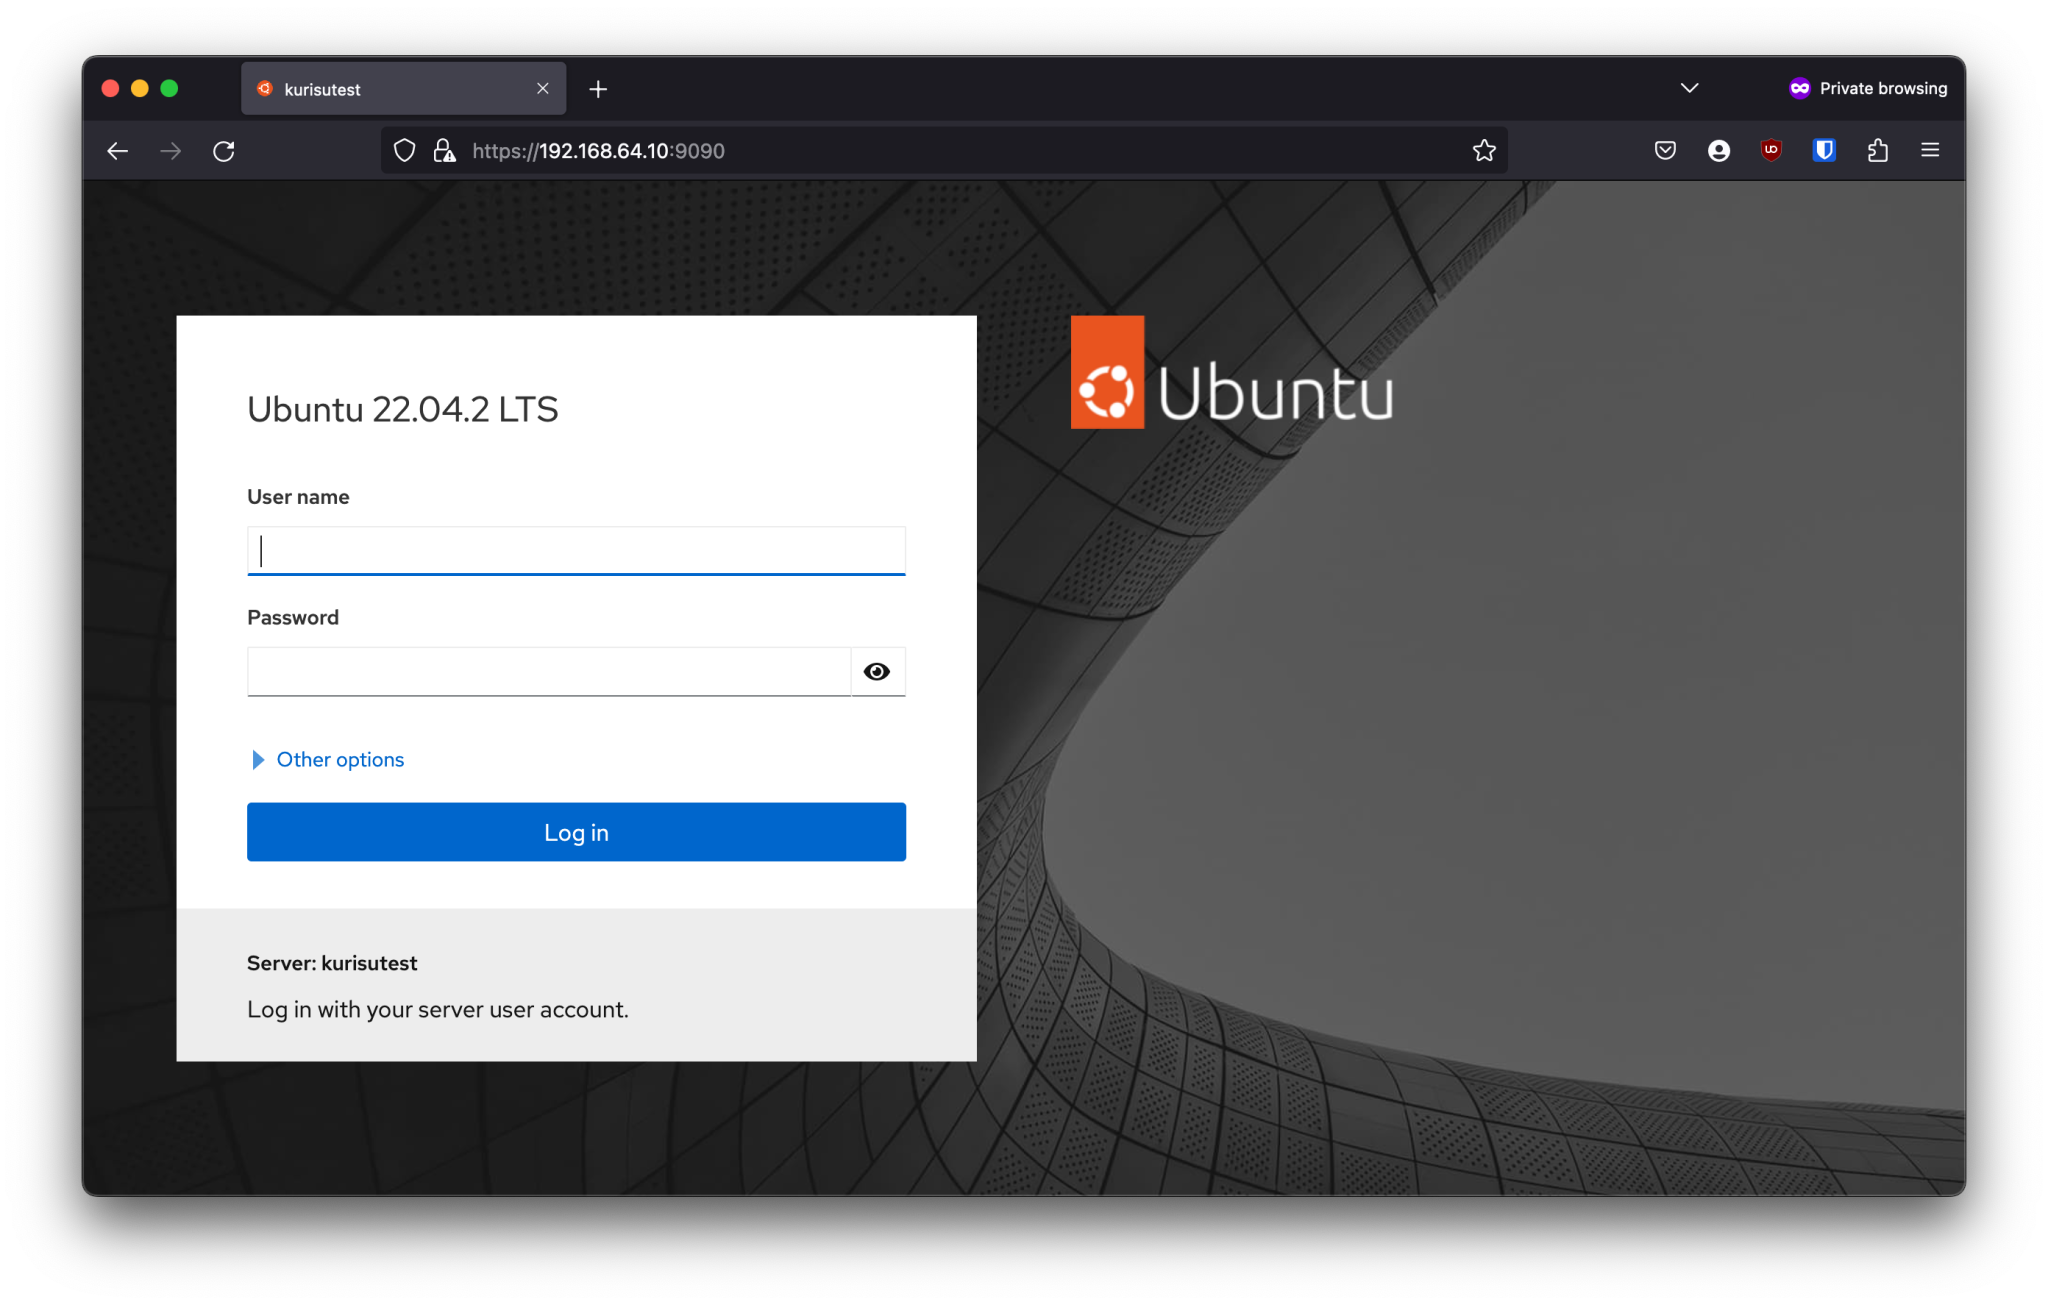
sudo ufw allow 9090We’re all set now! Test to see that cockpit is fully working by going to your web browser and typing your server’s local ip with the port 9090 which is cockpit’s default port.
http://localhost:9090Once you’ve reached the site and it’s working, You’ll need to login using the same user credentials as your server’s account.
You’ll notice that cockpit is telling you that you have limited access. Simply click that and elevate your access by simply re-entering your password.
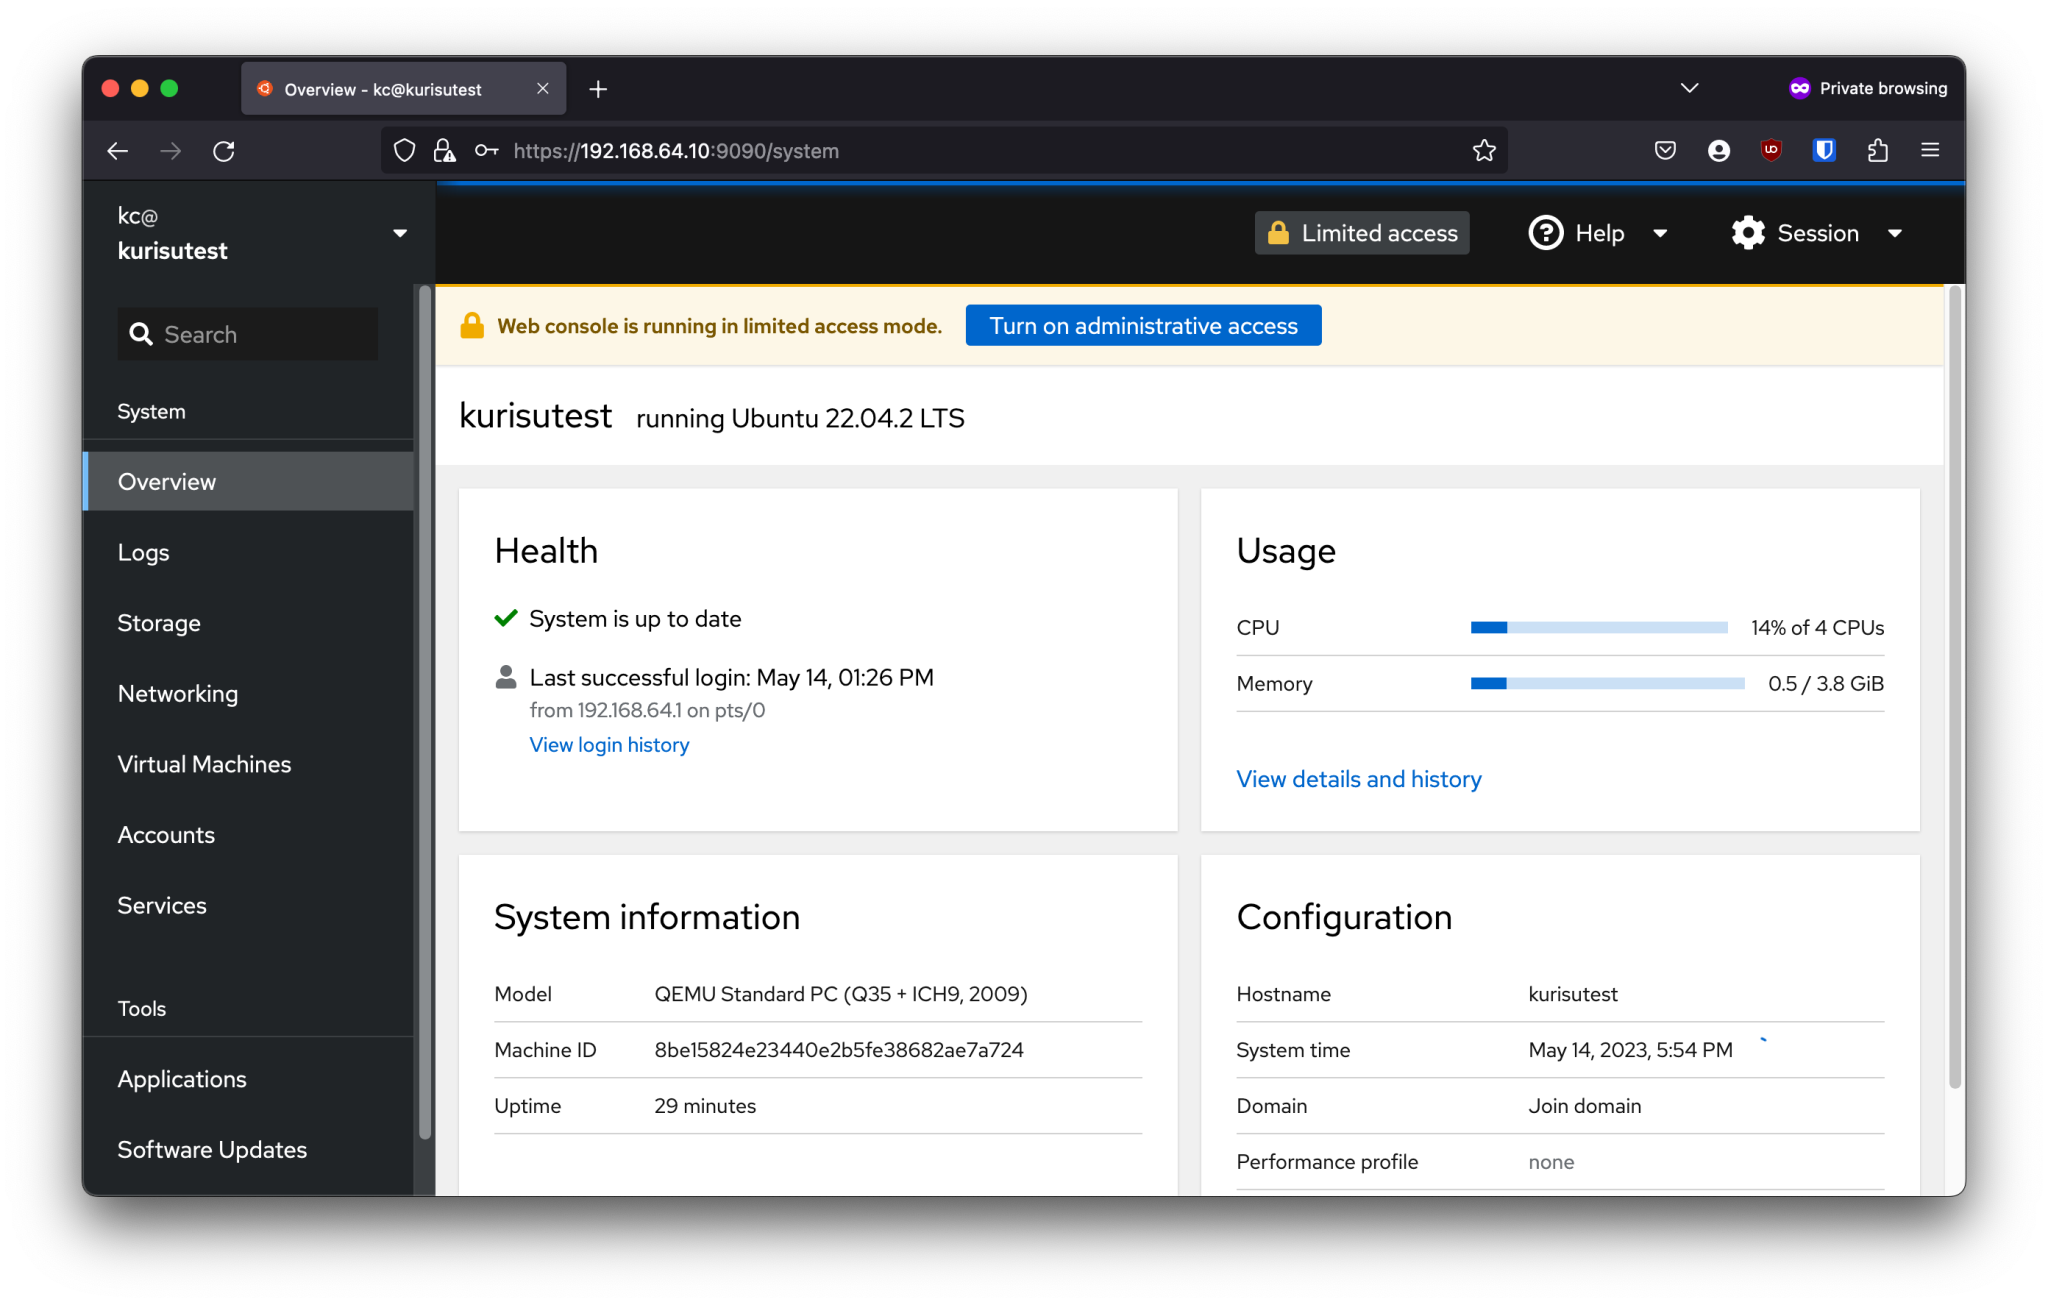
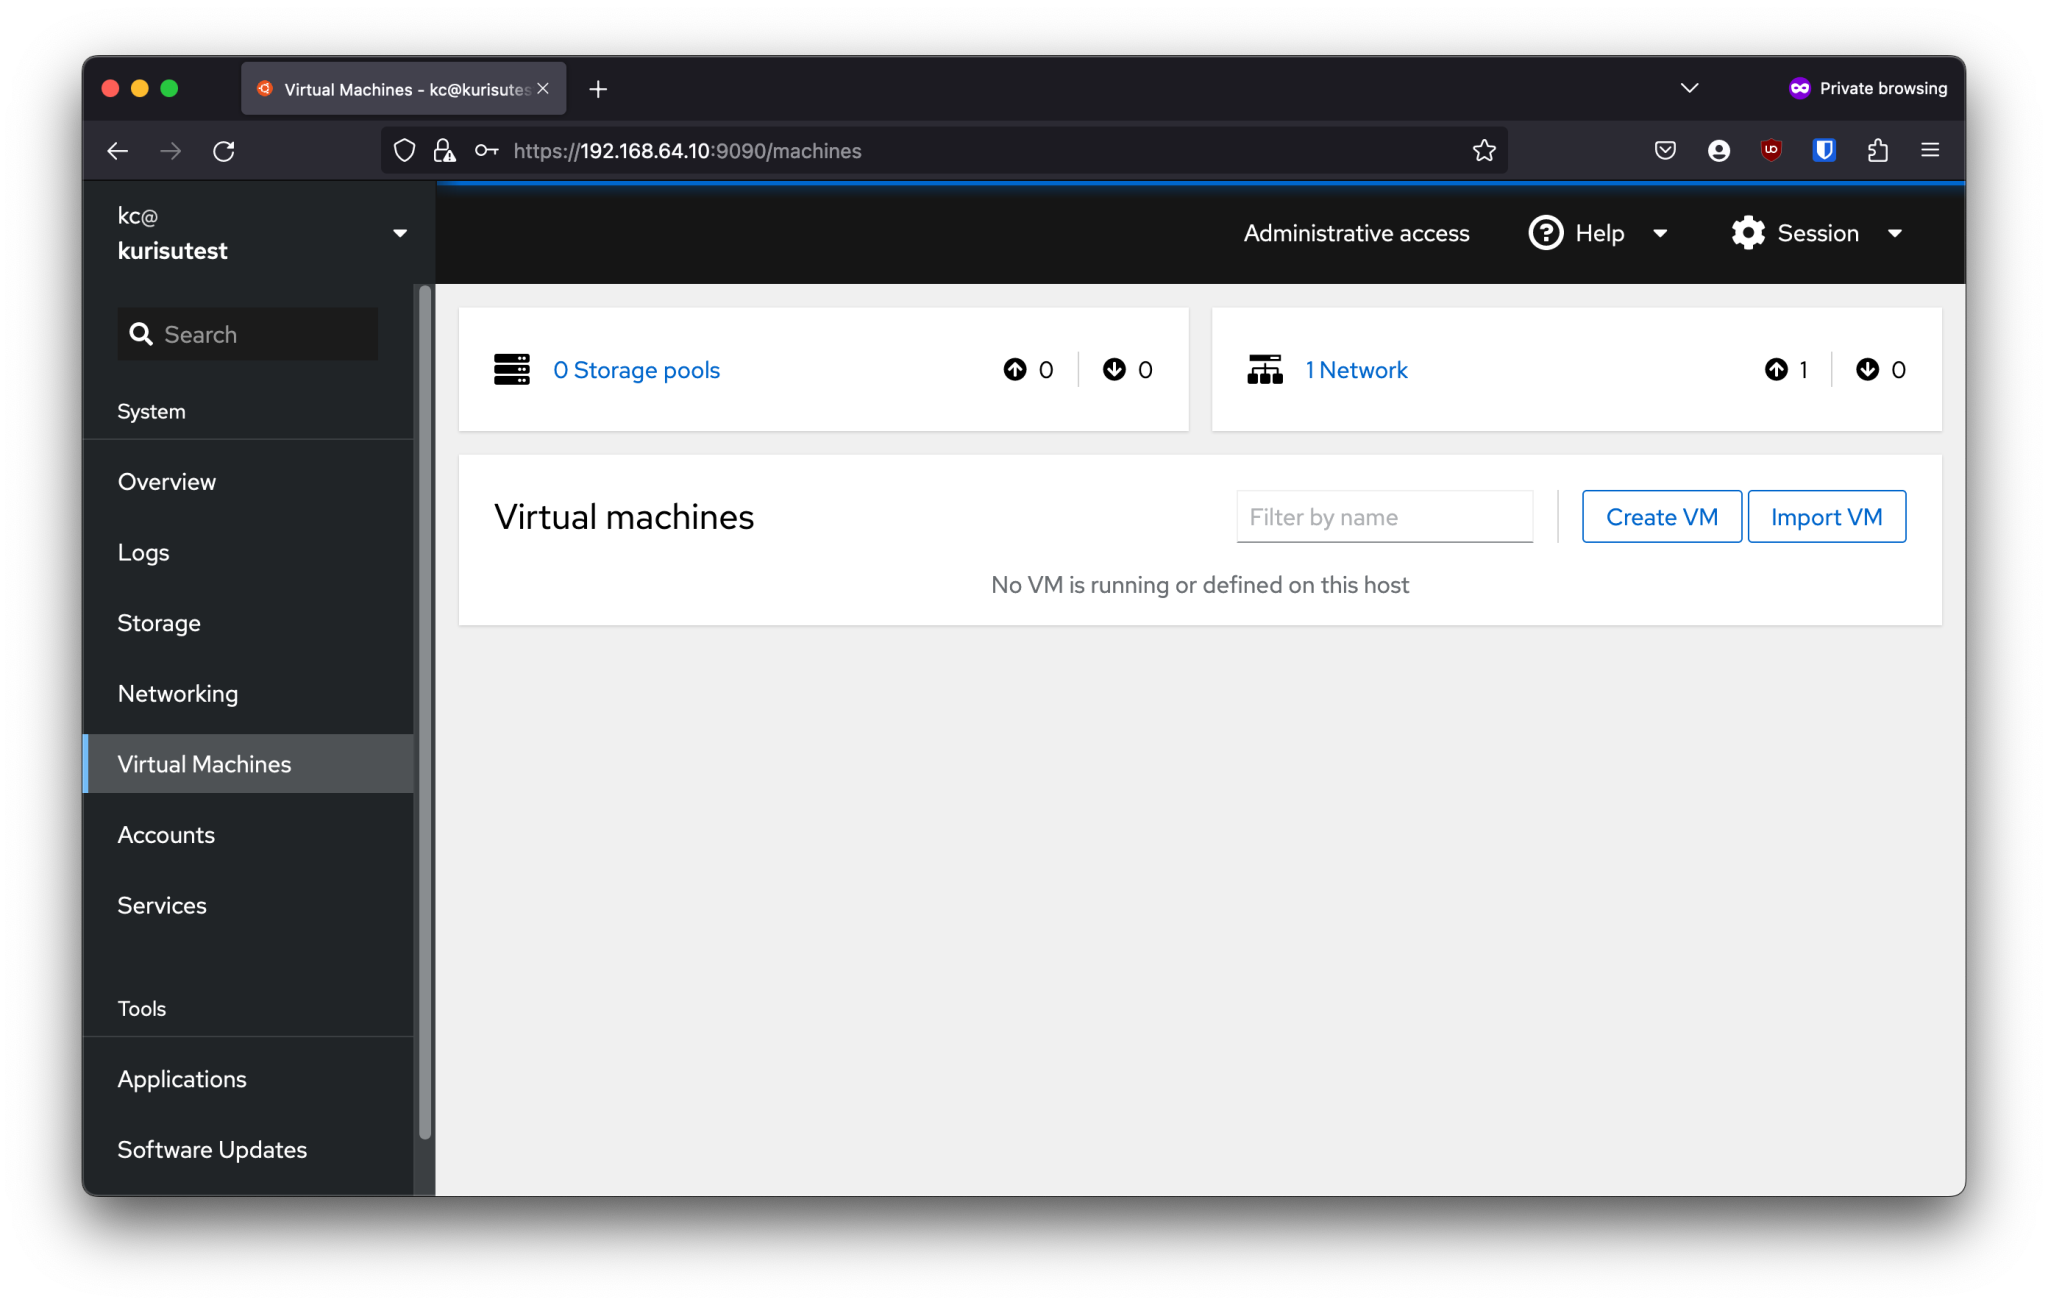
You’ll see the cockpit main page in all it glory, Quick read outs of system statuses etc. You’ll also notice the virtual machines tab on the left, this is where we’ll be able to quickly spin up virtual machines. Click the Virtual Machines button and let’s get our storage pool set up and spin up a VM!
В оригинале еще приводится пример создания Storage Pool и Volume, это уже выходит за рамки настройки и запуска Cockpit и QEMU.
No Comments